
Photo: libre-software.net. License: CC BY-SA 4.0
How to set up automatic updates on Ubuntu Server 20.04, 22.04 or 24.04
Last updated on May 27, 2024
This guide explains how to configure automatic updates in Ubuntu Server 20.04 “Focal Fossa”, Ubuntu Server 22.04 “Jammy Jellyfish” or Ubuntu Server 24.04 “Noble Numbat”.
Step 1: package installation
Install the unattended-upgrades package:sudo apt install unattended-upgrades
This package may already be installed on your server.
Step 2: configure automatic updates
Edit the configuration file (here with nano – replace with any other text editor):sudo nano /etc/apt/apt.conf.d/50unattended-upgrades
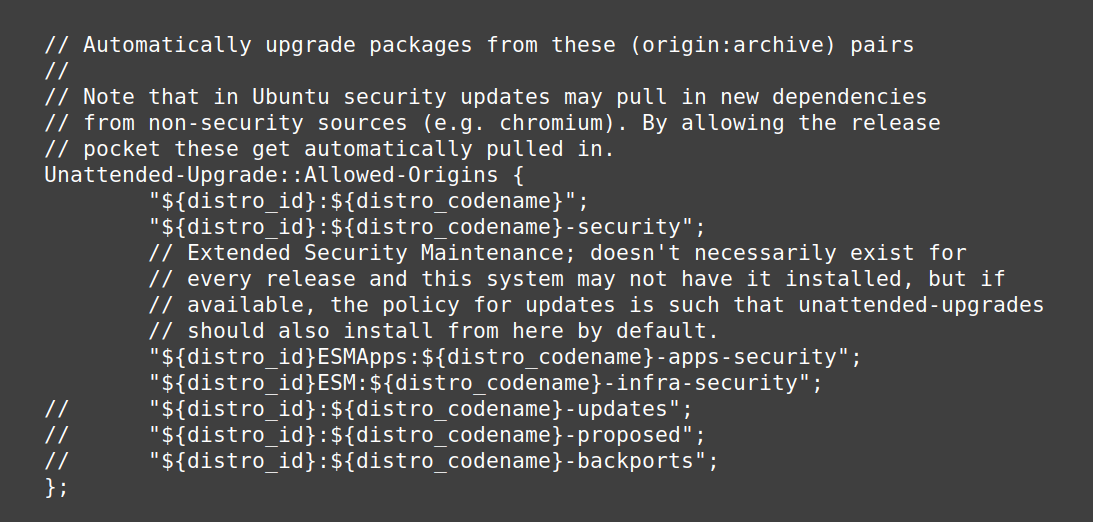
The beginning of the configuration file should look like this:
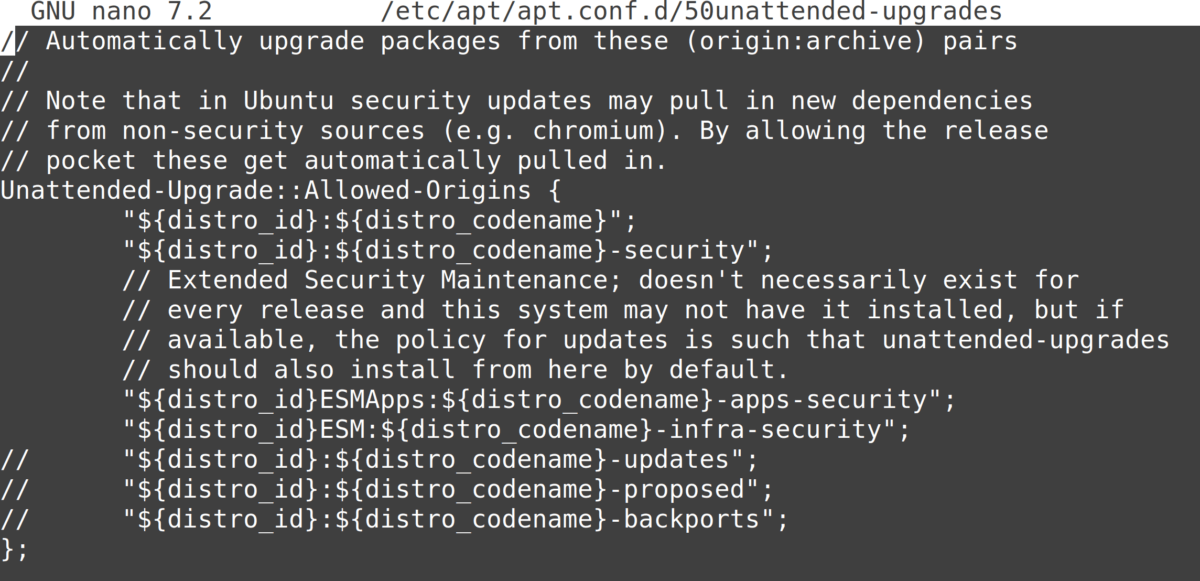

Anything after a double slash “//” is a comment and has no effect. To “enable” a line, remove the double slash at the beginning of the line (replace with nothing or with spaces to keep alignment).
The most important: uncomment the “updates” line by deleting the two slashes at the beginning of it:"${distro_id}:${distro_codename}-updates";
Recommended: remove unused kernel packages and dependencies and make sure the system automatically reboots if needed by uncommenting and adapting the following lines:Unattended-Upgrade::Remove-Unused-Kernel-Packages "true"Unattended-Upgrade::Remove-New-Unused-Dependencies "true";Unattended-Upgrade::Remove-Unused-Dependencies "true";
Unattended-Upgrade::Automatic-Reboot "true";
Unattended-Upgrade::Automatic-Reboot-Time "02:38";
To save your changes in nano, use Ctrl + O followed by Enter. To quit, use Ctrl + X.
How to get email notification after automatic updates
Uncomment and adapt the following lines to ensure you’ll be notified if an error happens:
Unattended-Upgrade::Mail "user@example.com";Unattended-Upgrade::MailReport "only-on-error";
Please note: your server needs to be able to send emails – which is mostly not the case by default! If you didn’t install and configure Postfix on your server, email notifications will NOT work.
Step 3: enable automatic updates
Enable automatic updates and set up update intervals by running:sudo nano /etc/apt/apt.conf.d/20auto-upgrades
In Ubuntu 22.04 and 24.04, the file has only the following two lines by default:
APT::Periodic::Update-Package-Lists "1";APT::Periodic::Unattended-Upgrade "1";
Insert the following lines at the end of the file:
APT::Periodic::Download-Upgradeable-Packages "1";APT::Periodic::AutocleanInterval "7";
The time interval is specified in days, feel free to change the values. In total, you should have all four lines. Save changes and exit.
Step 4: check if it works
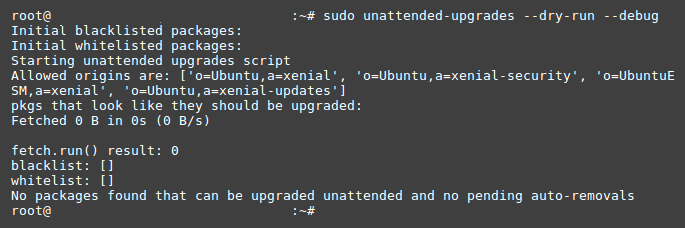
You can see if the auto-upgrades work by launching a dry run:sudo unattended-upgrades --dry-run --debug
The dry-run may output something like this:
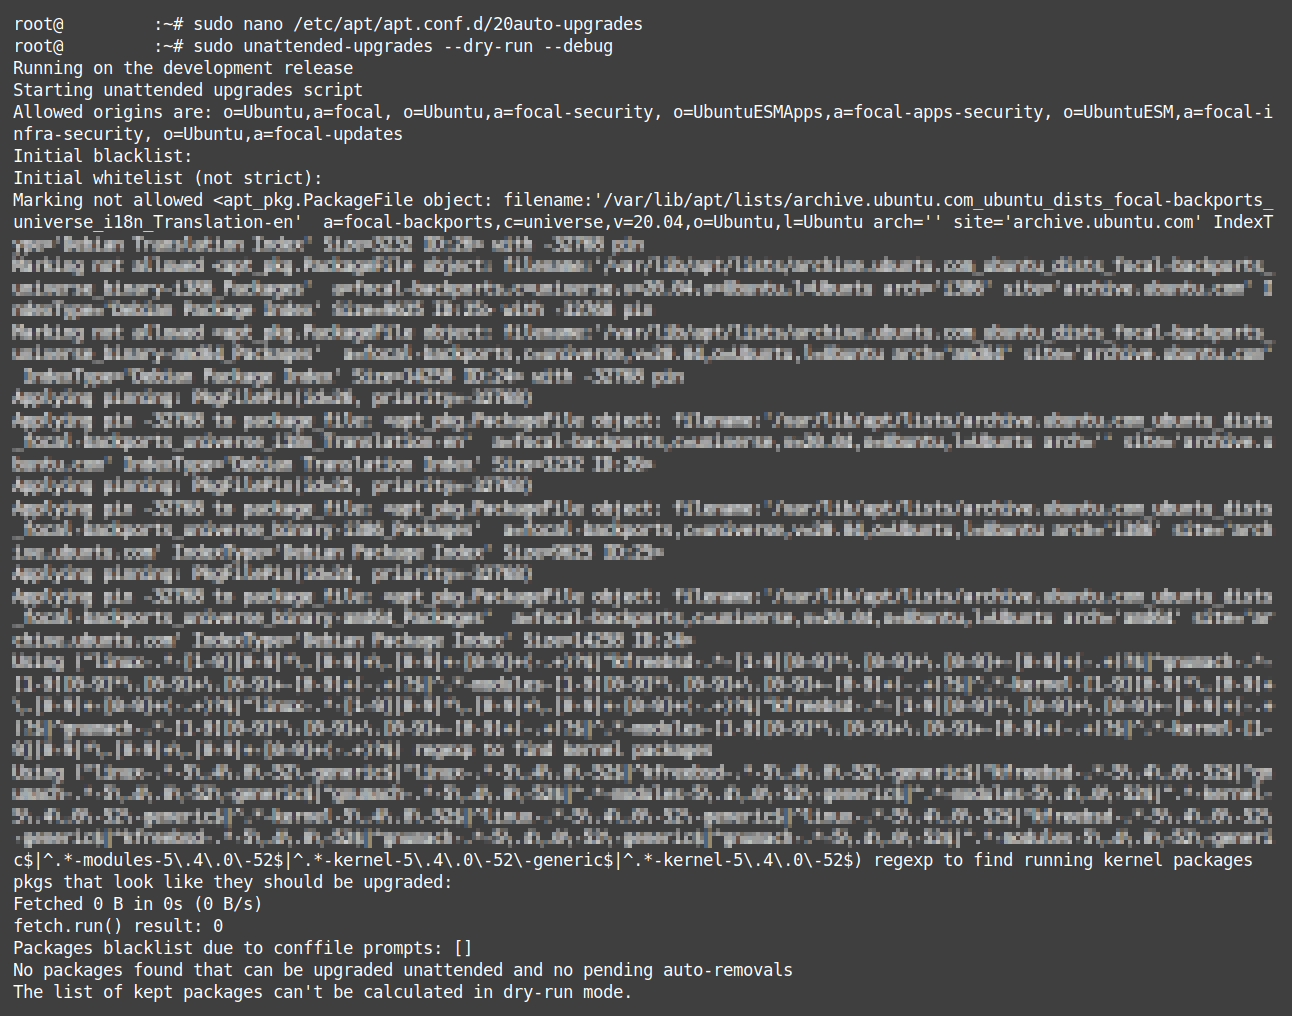
Depending on your server configuration, the output may look less clean, which is OK:
Another way to check if automatic updates work is waiting a few days and checking the unattended upgrades logs:cat /var/log/unattended-upgrades/unattended-upgrades.log
Done! Ubuntu Server 20.04 / 22.04 / 24.04 should now update itself once a day.
By Johannes Eva, April 2018 – May 2024


2 thoughts on “How to edit EXIF metadata via the command line with ExifTool”
awesome work! I spent so much time looking for it.
I think you added a small typo when adding the xmpRights, it should be like this:
-XMP-xmpRights:Marked=True
Thanks again!
THANK YOU for this post. i have been wanting to post many CC BY-NC-ND 4.0 INTL images to archive.org and couldn’t find a simple-enough (yet *correct*) how-to. This post enabled me to assemble the full version (i made a bash script) that i needed. Perfect! Many thanks again for taking the time to set this up so clearly/simply and correctly. I even like your use of color and spacing to make finding things quicker for the eye to zoom in to. Well done, indeed.
Comments are closed.